How-To-Yelli: Building Menus

In this article: How to add food and drink menus to Yelli. Creating categories and then adding information for each item such as ingredients and allergy guidelines.
We’re back with the second article in our How-To-Yelli series!
If you haven’t already, be sure to check out the first article in this series: How-To-Yelli: Getting Started
The goal of these articles is to build a library of resources for you to have while you’re getting started with your new Yelli account. If you’re looking for help with Yelli and can’t find what you’re looking for, be sure to reach out to us directly.
Building Food Menus
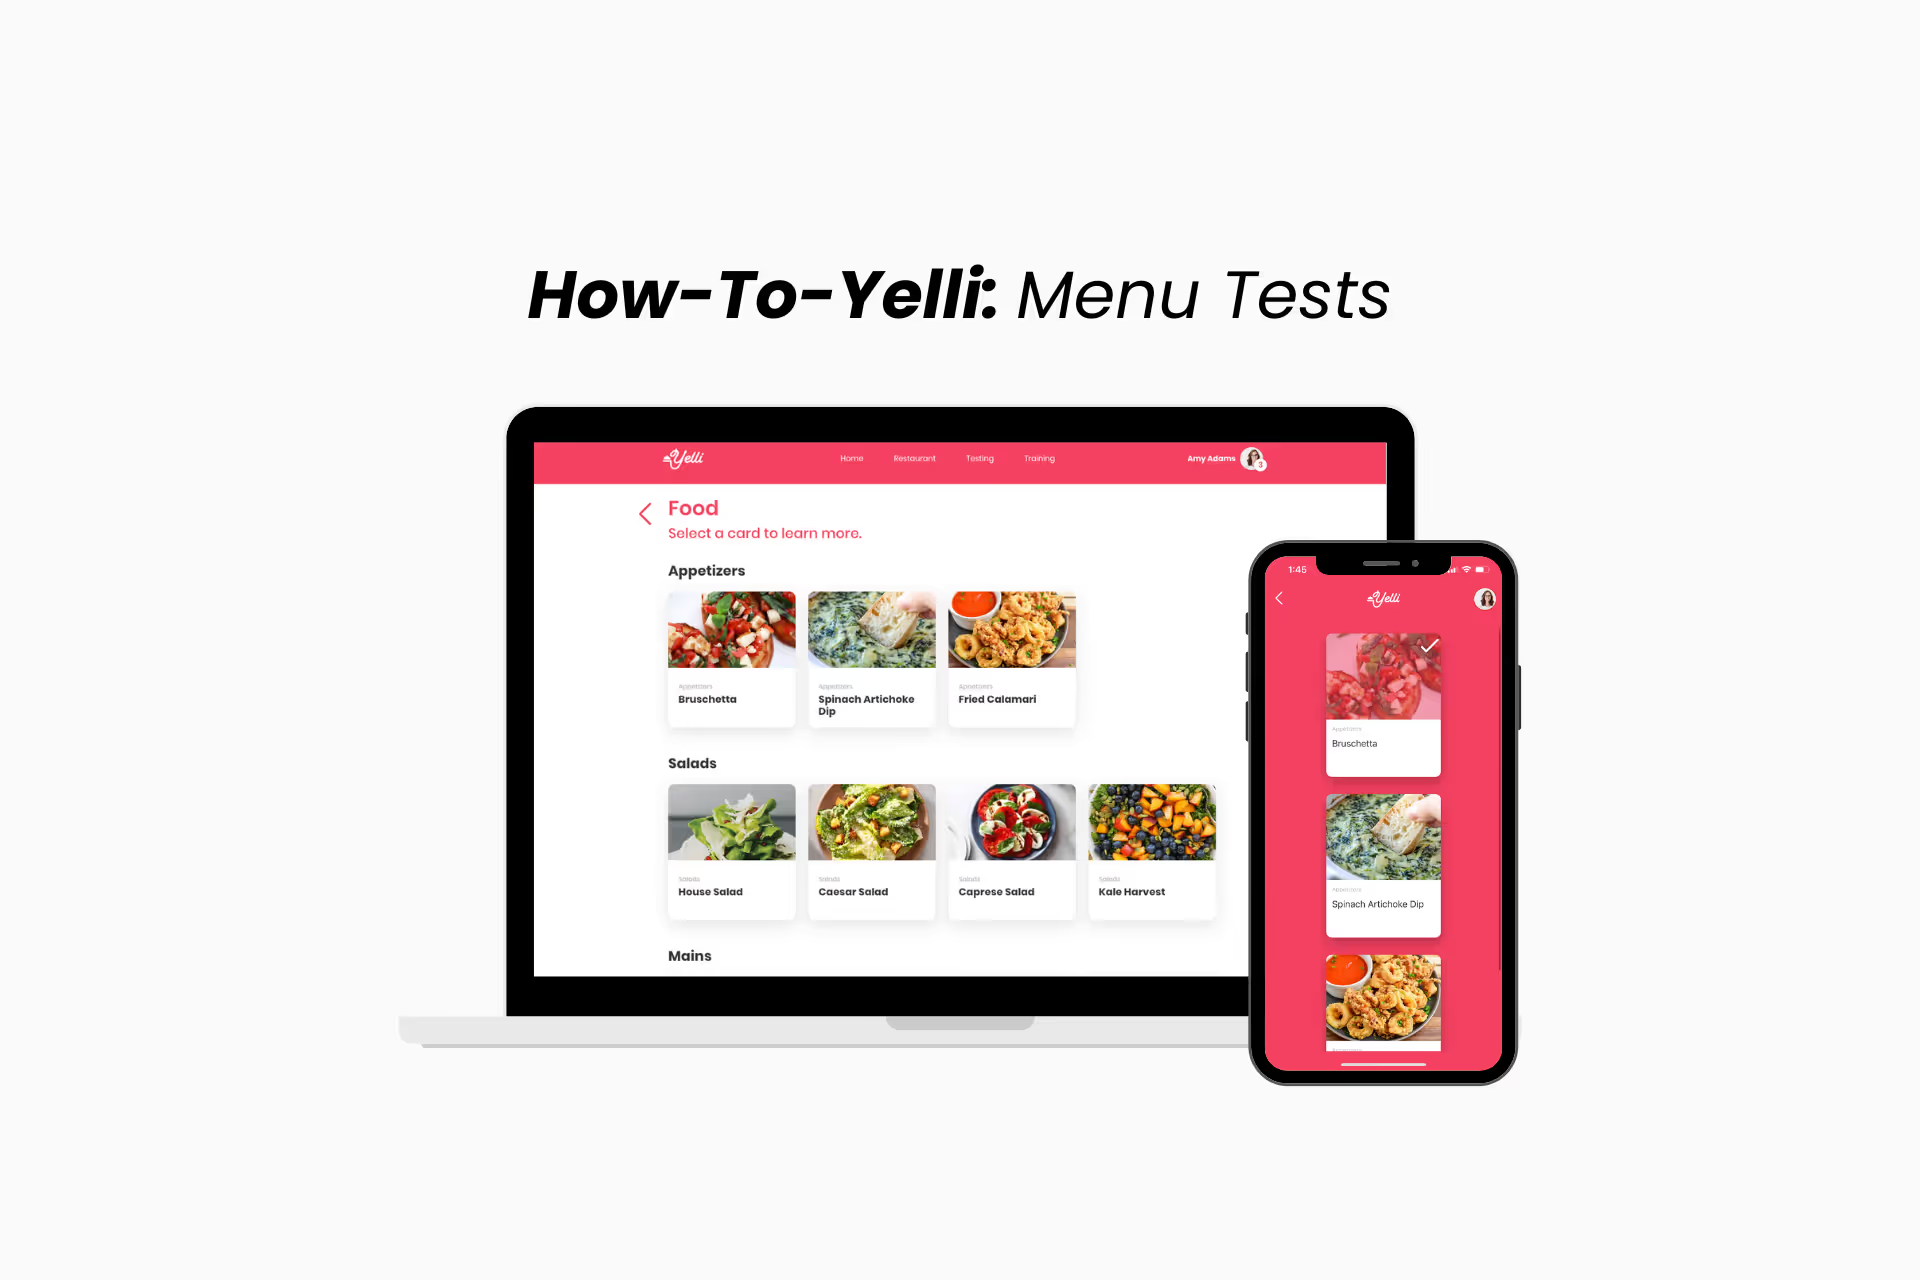
One of the most popular features in Yelli is the menu flashcards. When a new team member joins your restaurant, they can simply log in to Yelli from anywhere and study the flashcards. Um, hello product knowledge?
When you create your restaurant’s account, it can seem tedious to add all of your menu information. If you already have a detailed menu matrix, it will be easy to copy and paste into Yelli. However, the majority of restaurants that I work with don’t have any of this information stored, so they are starting from scratch.
Step 1: Preset your categories
Yelli allows you to create categories under the food menu section. Before adding individual menu items, pre-set all of the categories you will need.

For example, you may have small plates, salads, entrees, and desserts.
You can rename the existing categories to match what you need, or delete them and add your own. You can add as many categories as you need by selecting the “Add New Category” button at the bottom of the page.
Step 2: Add Individual Menu Items
Once you have your categories set, you can start adding individual menu items!
For each item, you have the option to add the following: Image, name, ingredients, allergies, table talk, garnish, notes, price.

The only required field is the item name, so feel free to use what you need and leave the rest blank. (Note: Each field can store up to 3000 text characters)
I think it’s important to add as much detail to each item as possible, while not adding unnecessary information.
Is there a common guest complaint that you can teach servers how to anticipate and work around? Make a note about it.
Remember that this is the resource new hires will use to learn the menu, and can also serve as a cheat sheet for your team to rely on during service.
Step 3: Update Menu Items in Real Time
Now that you have your menus built, you can simply update them as you need to! One of the hardest parts of continually training restaurant staff is communicating changes as they happen.
New special added to the menu? Simply create the item, click save, and everyone on the team will get a notification to review the changes.

If you modify an existing item, or delete it from the menu completely, your team will also be notified. (Note: If you choose “Save Without Notifying” the team will not be notified, but your changes will be saved)
Building Drink Menus
The drink menu section functions almost identically to the food menu section. Preset your categories, then add individual items to each category.
Follow the same instructions outlined above to pre-set your drink menu categories. For example, you may have cocktails, wine by the glass, wine by the bottle, draft beer, and non-alcoholic beverages.
Once your categories are set, you can add individual items to each category by clicking the “Add New Item” tile. You’ll notice that the text fields are a bit different than in the food section, just to make more sense for drink menus.
For each item, you have the option to add the following: Image, name, ingredients, garnish, notes, price. The only required field is the item name, so feel free to use what you need and leave the rest blank. (Note: Each field can store up to 3000 text characters)

Make sure you save each item, and only use the “save without notifying” option if you want to save something without communicating it to the team.
Moving Menu Items
If you ever need to move an individual menu item from one category to another, you can do so by selecting the item and then opening the dropdown menu under the category field. Select the category you want the item placed in, then hit save.

Keep in mind that you can only move food items to other food menu categories, and drink items can only be moved to other drink categories.
Food and Drink Menu Tests
One of the other cool features of Yelli is that all of your food and drink categories automatically get turned into menu tests.
For every category that you create, there will be a test associated with it. These tests are open-ended, and require the employee to fill in each field for the items in the category.

Once all answers have been added and they complete the test, managers can review their answers and decide if they’re ready to hit the floor, or if they need to improve their product knowledge.
Tests can be taken as many times as needed, and the most recent results will be stored both under the results tab of the testing center, and under each employee’s profile page.
Related: How -To-Yelli: Menu Tests


.svg)
